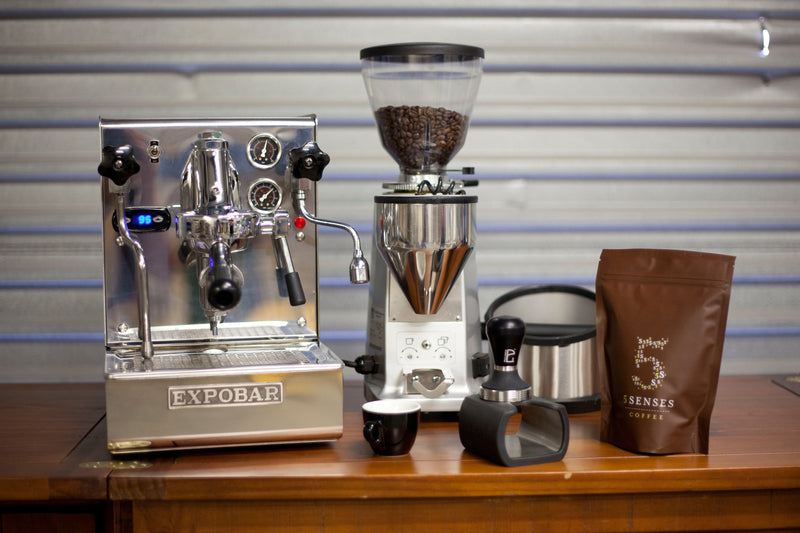
Espresso at home is a great way for coffee drinkers to experience and understand what goes into their café style drinks. By that, I don’t just mean the actual ingredients, but more the different levels of quality, technology, expertise, patience and attention to detail.
When it comes down to it, most people start at a very basic level, even if they have a whiz bang machine. The only real way to get better is to practice, taste, and be honest with yourself. The shot (the flavor of your drink) is often the most neglected detail. Everyone seems to concentrate on ‘silky milky’ which is also important, however, they tend to loose sight of the actual coffee.
Honest advice: If you are serious about making great coffee at home, do a home barista course at the Barista Academy. What you will learn in three and a half hours will serve you well for the rest of your ‘home career’. We continue to outline the main points of shot preparation in this article, but there is nothing like having someone experienced on-hand to evaluate, critique and guide you into achieving the best possible results. Once you have your shots mastered, you just might find that your level of coffee appreciation has risen to a whole new level.
Pre-warming your cup is a great start. Temperature of espresso largely affects its flavor profile, and a perfect shot hitting a cold cup can immediately affect the body and sweetness of your coffee. This is the reason why most people prefer to drink their espresso immediately and why good baristas mix in steamed milk immediately after brewing. If your machine doesn’t have a cup warmer, don’t sweat it. Use a bit of hot water to heat it up.
Because water will always follow the path of least resistance, a wet basket will create channeling (which of course is no good). Remove your portafilter from the pre-heated espresso machine and wipe the basket dry with a tea towel.
Place your basket under the dosing part of your grinder, turn the grinder on and fill the basket until you have a slight mound of coffee. Turn your grinder off and give the portafilter a light tap on the bench to collapse the coffee in the basket. Then go back to the grinder and heap up a little more. The object is to fill the basket and get a distribution of grinds that is as even as possible.
It’s important to keep your dosing technique consistent. By heaping up into a slight mound and then swiping off the excess, you have the best chance of getting the same amount of coffee in the basket each time. Beware of your ‘tapping’ routine; if you tap twice to collapse, repeat the same every time. If you’re curious to see how consistent you are, measure your dose with a digital kitchen scale. You might be surprised at the result.
Next, compress the coffee grinds down evenly with your tamper, keeping your arm straight and giving it firm, even pressure. Try your best to keep the surface of the coffee flat and not on an angle.
Flush through a few seconds of water which should collect much of the left over coffee grinds from your previous coffee (pictured). If you have a heat exchange machine, flush water through immediately before your shot. Once it stops ‘hissing and spitting’ and runs steady, you’re at the right temperature to brew.
There’s two things to look out for with your espresso pour. Firstly the speed of the pour, and then secondly the colour. Speed: The pour should initially start with a little bit of dripping before easing out into more of a stream. Remember to change you grind a bit finer to produce a slower pour or courser to produce a faster pour. Colour: The shot will progress from a rich, reddy brown to a tan, caramel colour before reaching the unwanted watery and white section. Using a double basket will result in a double espresso shot of around 40-60 mls. It can be quite useful to use two shot glasses with a 30 ml measuring line for the first couple of weeks to make sure that you get the correct amount of espresso as a base for your drinks.


