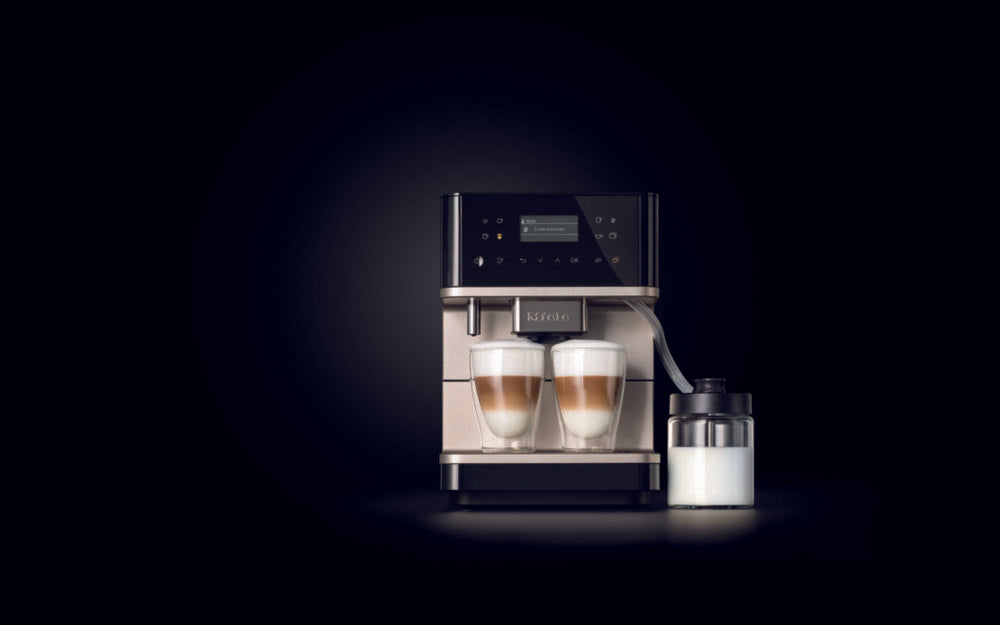
Want to produce great coffee at home that will make you jump out of bed in the morning and say to the world “Here I come!”? There is just something so uniquely satisfying about the way you make coffee for yourself. Here, it’s all about you. Once you’ve found that magical combination of steps for your perfect cup, reproducing that sequence becomes top priority in order to enjoy that moment every day.
An automatic espresso machine certainly helps to make this process a breeze by allowing you to easily repeat a set recipe time and time again. So with this dream in mind a machine is purchased and hurried home, where it has been joyfully unboxed, positioned with pride and place on your bench all whilst rubbing your hands together ready to start enjoying the spoils. But where do you start? What settings are for me? What do the settings even do? A little pre coffee anxiety creeps in. Never fear!

Setup Checklist
Ideally aim to have the following before getting started…
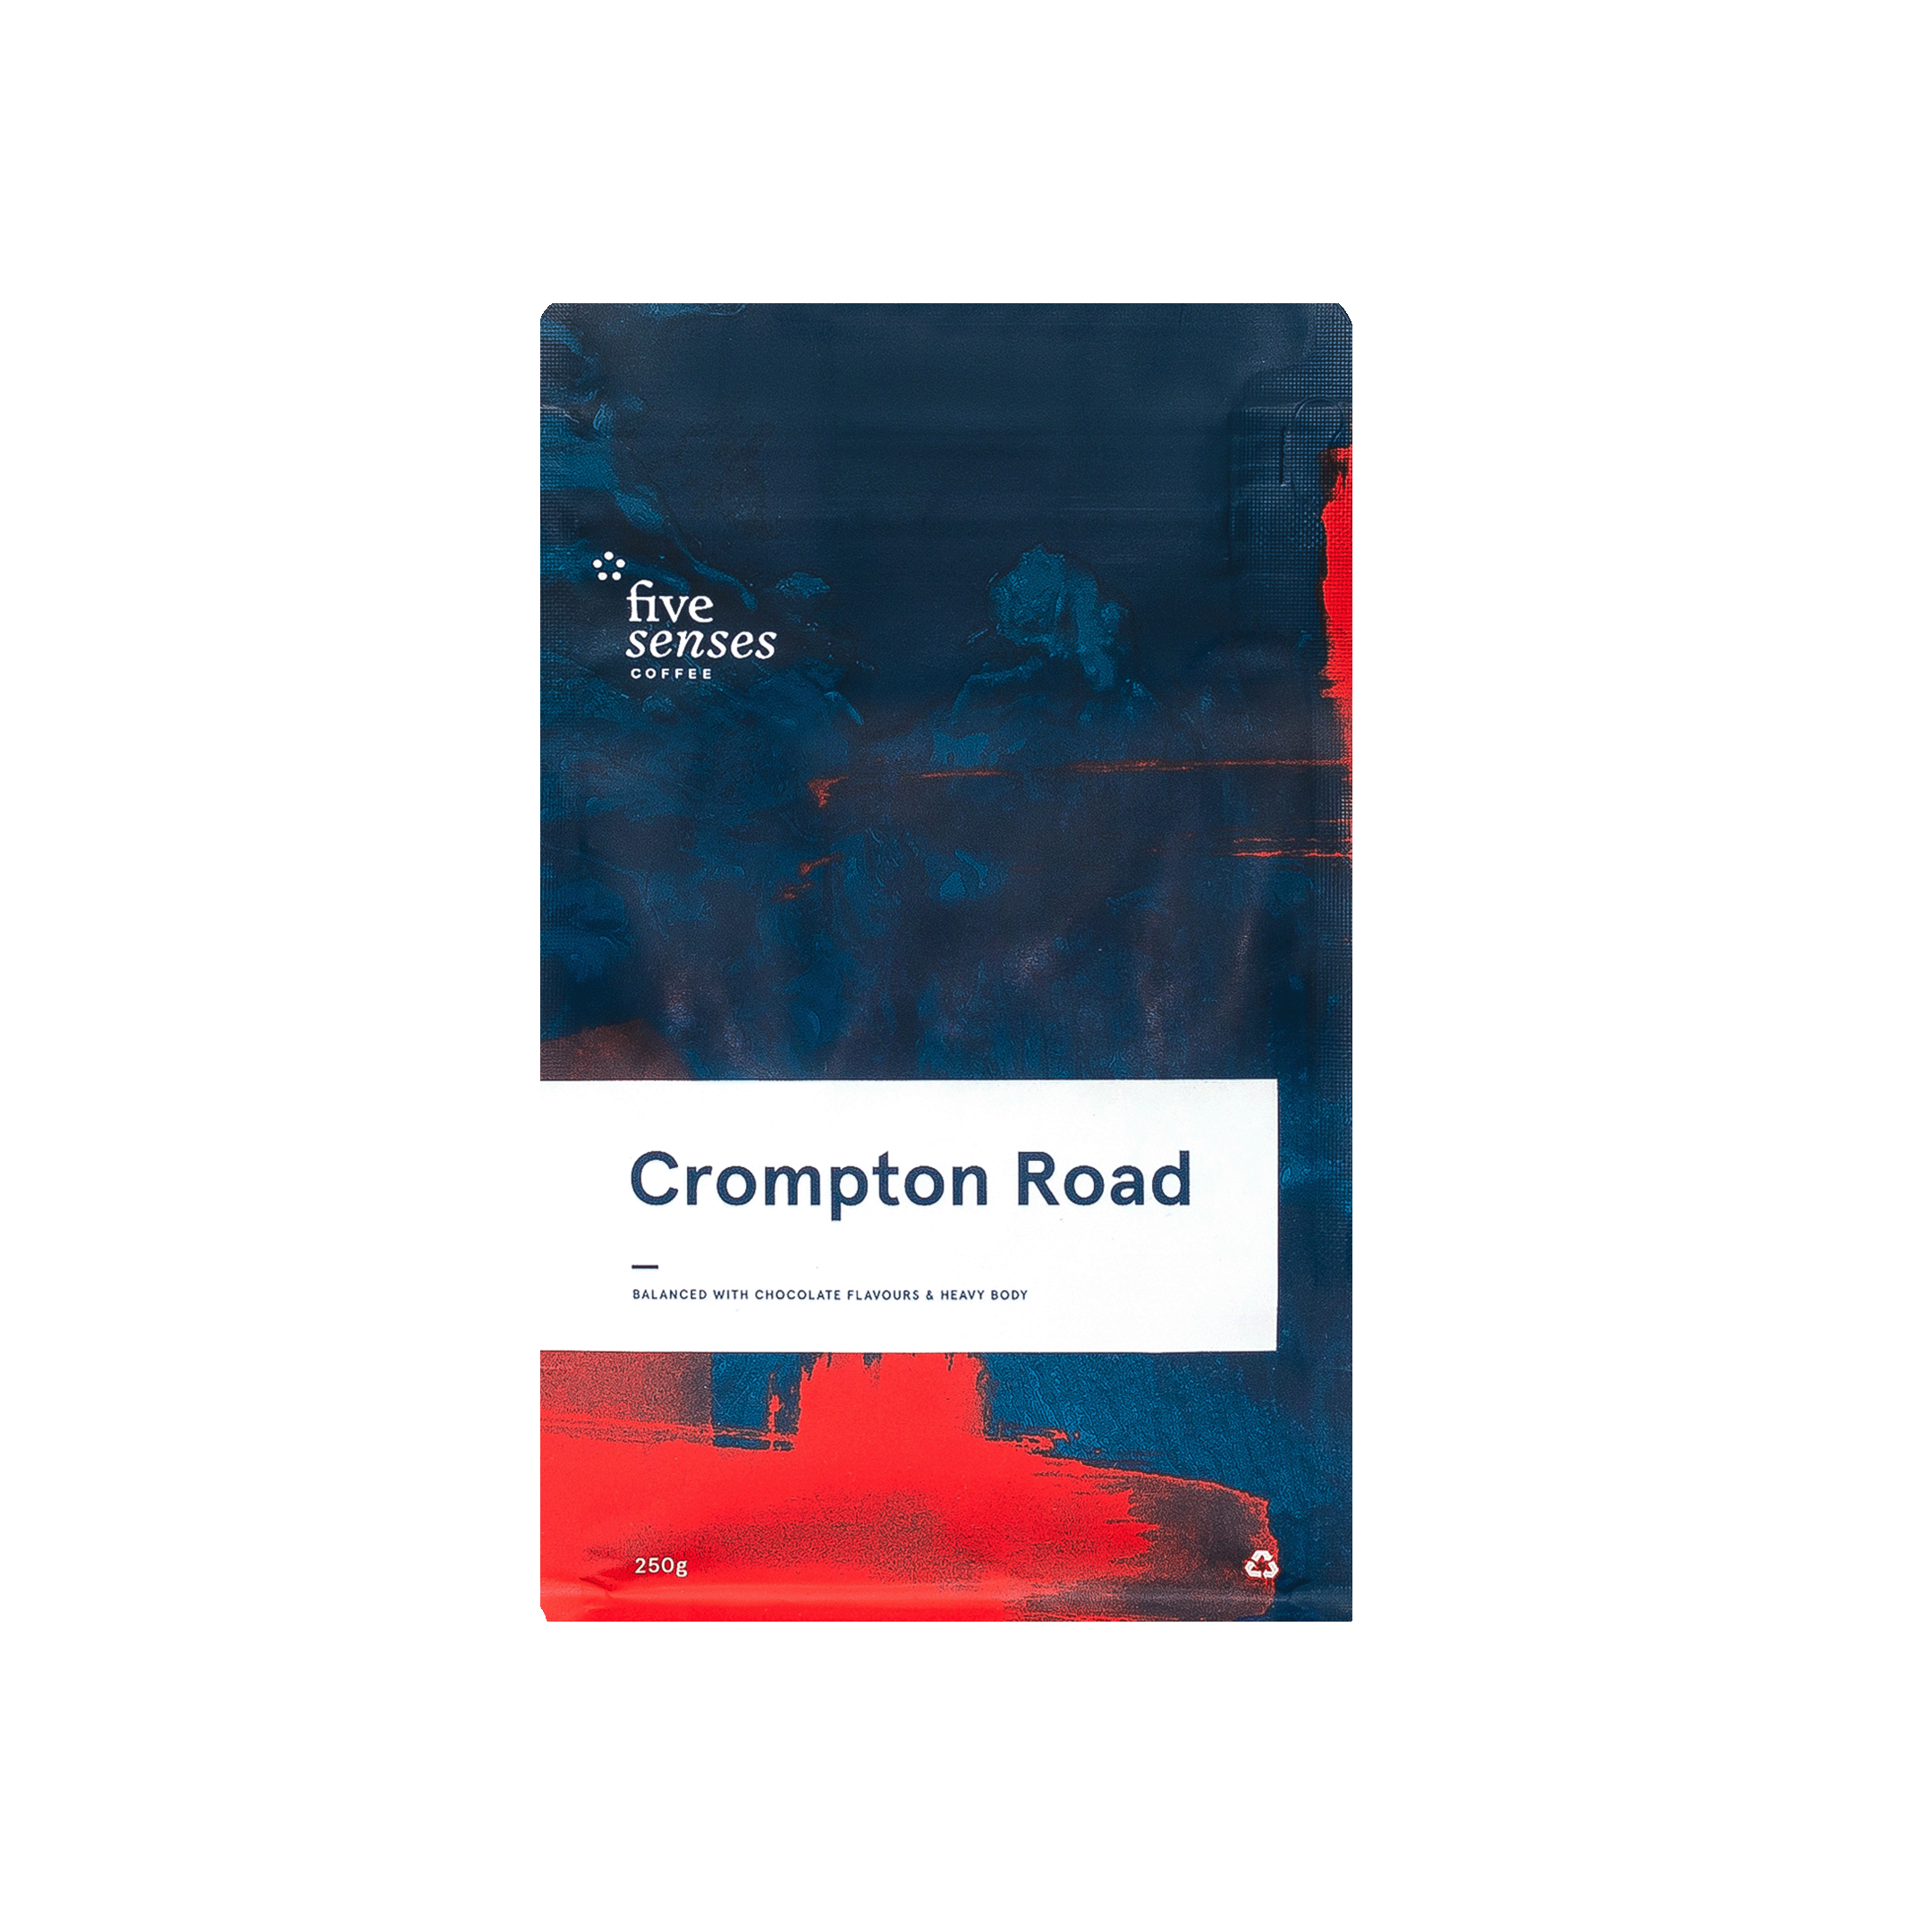
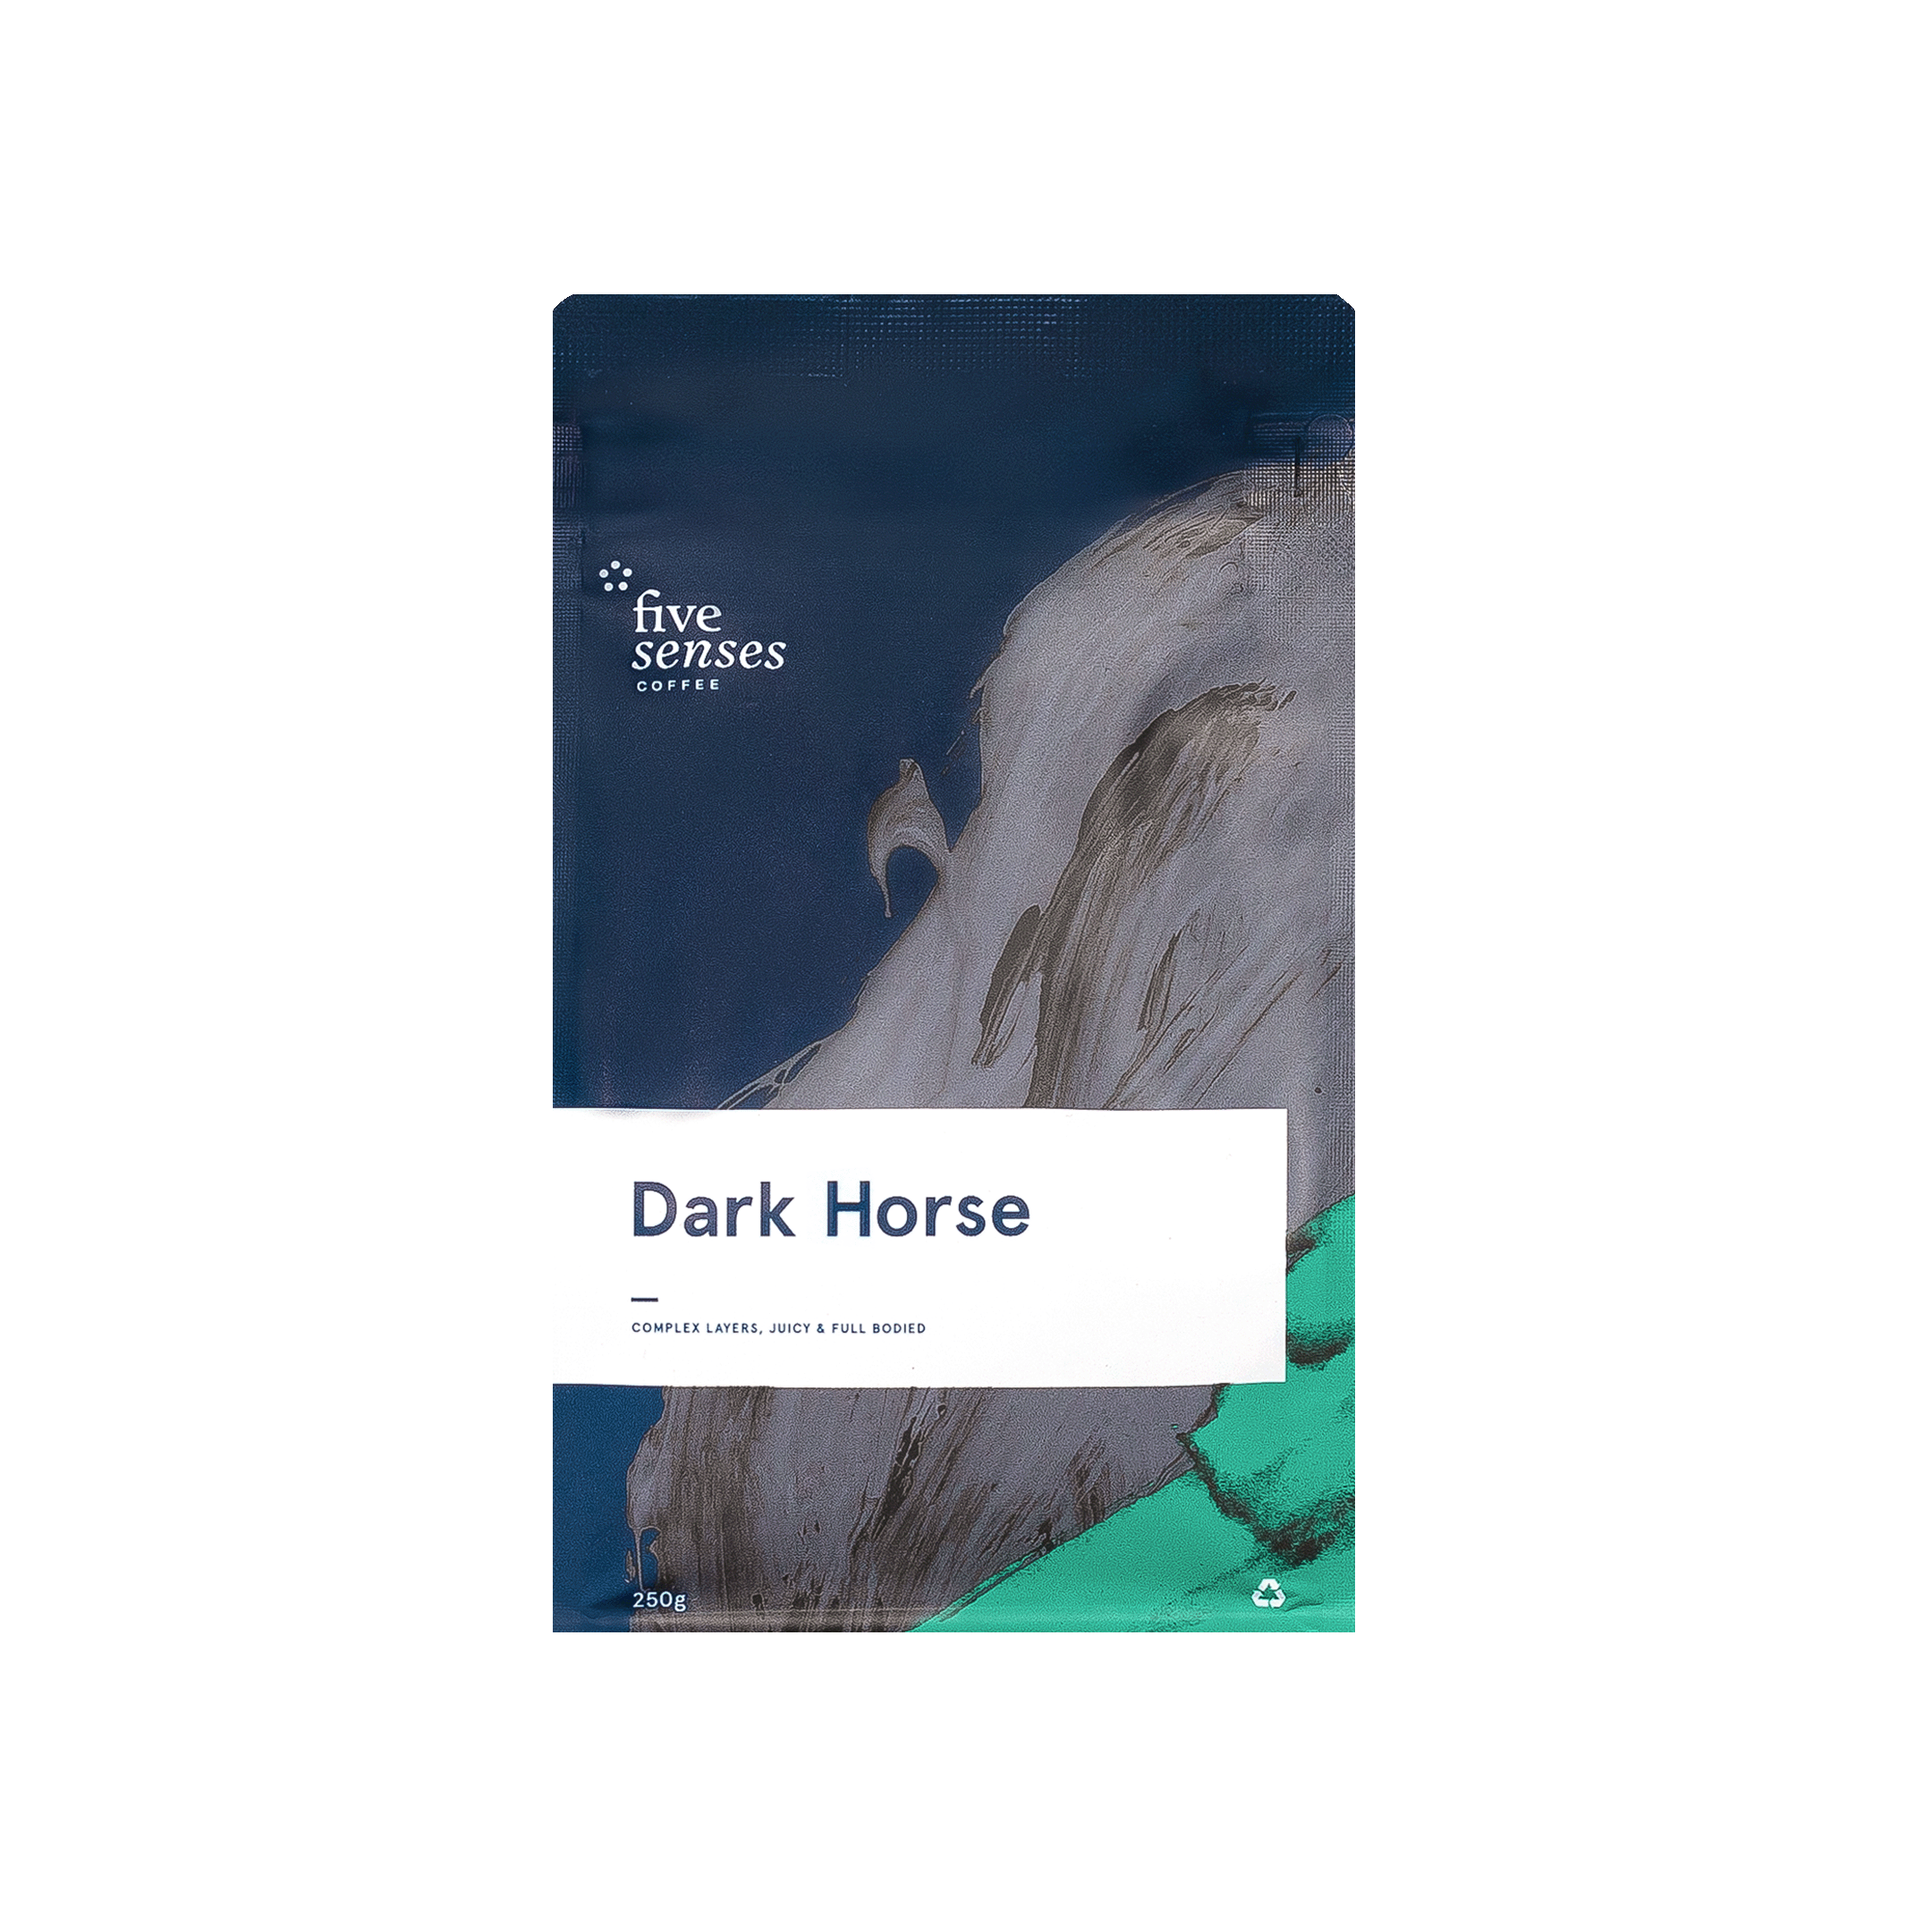
- Delicious fresh roasted coffee! You can’t make coffee without coffee right? The fresher the better. For more details on freshness, and other factors that go into coffee selection, check out this article here.
- Filtered Water. Water makes up more than 75% of your espresso so clean water is a must. You may have some inline filters on your taps already or simply use a water jug (such as the Peak Water Jug) with carbon filters in them.
- A Clean Machine. A dirty machine will always make your coffee taste, well dirty. Make sure to regularly follow the recommended cleaning and flush cycles. Even give it a full clean out of the box to get started.
- Cups. Sounds like an obvious one but this is specifically not the word ‘Mugs’. You will get better overall results using a smaller cup. If you want to drink lots of coffee, simply make another cup! These Loveramics 150ml Cups & Saucers are a luxury, cafe quality option to pair with your machine.
- Set of digital scales. This will not be essential day to day but makes the initial programming stage a breeze. A small measuring cup with visible measures is a viable alternative if a scale is not available.

6 Pro Tips to Lift your Coffee Game!
Like most appliances, the user manual is riveting essential reading, but here are 6 extra bonus pro tips to help get you in the sweet spot sooner, lift your coffee game and start getting the most from your Miele.
Tip 1: Set to the finest grind.
The first adjustment suggestion is to make the grind as fine as possible. We are looking to get loads of flavour out, so smaller particle sizes will increase the overall surface area allowing more contact with the water, and therefore extraction, as it passes through the coffee puck. Simply open up the right hand side of the machine and slide the grinder adjustment to the finest setting, symbolised by the small dot.
Tip 2: Up the dose.
Next we suggest increasing the dose of dry coffee in the shot to MAXIMUM. Why? More coffee in the dose helps to increase the coffee intensity in the cup and so we want to get as much in there as possible. Each individual beverage (espresso, latte, cappuccino etc) will have its own unique settings to adjust in the parameters menu. Select parameters (bean icon). When there, select your drink of choice and move the AMOUNT OF COFFEE to its maximum setting. This will increase your coffee dose from 10-11gr to 14-15gr which will allow for a longer dispense volume. (see PORTION SIZE).
Tip 3: Up the temp.
While in these parameter settings, set the brew temperature to HIGH. Water temperature is a huge factor in the overall taste and mouthfeel of your espresso. Even the small difference of 1⁰ Celsius will create a perceivable difference in flavour.
Just think about it like cooking. We are using higher cooking temperatures in order to get more extraction and body while developing sugars. This really suits modern lighter roast profiles, however if you are using a darker classic roast then the ‘low and slow’ method may be better suited as the higher roast development means the coffee is more soluble and needs less energy to extract.
Tip 4: Set the portion size.
Ok so here we are, the moment of truth. How much espresso do we dispense/yield? So an espresso is commonly measured/defined via a brew ratio of dry ground coffee to liquid espresso mass. An espresso is often set at a 1:2 brew ratio.
In this case setting your dose (dry ground coffee) to maximum will grind out 14-15gr of coffee, meaning we can now aim to dispense (liquid espresso) 28-30gr of drinking gold. This will achieve a well-rounded, sweet balanced coffee without bitterness or astringency. Can you play with this ratio? Absolutely! But tiny adjustments make a big difference. Keep in mind that going higher than 1:2 (1:2.5 – 37gr or 1:3 – 45gr) will run a higher risk of over extracting less desirable qualities out of your coffee such as bitterness and woody flavours while becoming watery.
Conversely reducing the brew ratio below 1:2 (1:1.5 – 22gr or 1:1 – 15gr) will likely be under extracted and present with a concentrated body exuding more sours in your cup, which can make an espresso seem punchy and sharp. In the Parameters menu select PORTION SIZE. Once the desired volume has been reached (in your cup or on your scale) press OK to SAVE your programme. Certainly experimentation is encouraged, as you will want to land on the sweet spot that’s best for you. If you are seeking more strength in your cup than the above recipe, the answer is not to run a longer shot, it’s to add a second shot.
Tip 5: Set your milk.
This is certainly the most personal of all the options in coffee, just take a look at the menu at your favourite coffee shop. Flat White, Cappuccino, Latte, Short Macchiato, Piccolo, Gibraltar, Magic, Half double decaffeinated half caff with a twist of lemon, the list goes on! Each of these beverages share the same ingredients, coffee and milk, at different ratios. The definition of these can vary wildly from country to country and even city to city.
A desirable and common ratio start point for most of milk based drinks is 1:4. 1 part espresso to 4 parts milk. This should create a drink that has a harmonious balance of milk and coffee flavours. Again in the Parameters menu select PORTION SIZE. Set your desired espresso level and once the desired volume has been reached for milk press OK to SAVE your programme.
To find your ideal balance of strength simply increase or decrease you milk levels accordingly. This directly ties into the size of cups point made in setup, as this suggested ratio will fill a 140ml-150ml size cup. So in order to fill a 280ml-300ml large cup or mug running 2 cycles of the programme is suggested to maintain flavour balance. The personal preference point cannot be stressed enough here and this is one of the great benefits of having your own USER PROFILE available.
Tip 6: Have fun & discover!
Putting all of this information into the mix is in a lot of ways like following a recipe. After you have tried it a couple of times you may want to make some personal tweaks, which is great.
When making adjustments it is highly recommended to adjust just 1 variable at a time. As each of the settings mentioned above have a perceivable impact on the outcome it’s important to note
which adjustments create a positive or a negative result. This process also allows for a clearer opportunity to learn what role, grind size, dose, temperature, yield and milk ratio play in
your tasty beverage of choice.
Have fun and enjoy the results!


